I love making my clothes unique and how I want them. And in sharing my creations, I've come aross many people who admire my work, but are too afraid to go after their own wardrobes. Thus, I figured I'd do a few posts to reveal how truly easy it really is to alter clothing to make it your own.
In this, the first part, I'll be covering the first step and sometimes the hardest: figuring out what to do to the item of clothing.
Figure out what you like about the piece. What attracted you to the piece in the first place? Perhaps you just liked the color or pattern and nothing else. Maybe you're a sucker for ruffles like I am. Or maybe it was all about the lace. Figure out what you like about the item so you can figure out what you want to keep.
Figure out what you don't like. Is it too long or too short? Is it horribly unflattering on you and can you pinpoint why? Are you not feeling the pleats? Is it too plain or WAY too much fun? Figure out what you don't like in the item to figure out what NEEDS to be changed.
Figure out your style. Take a look in your closet and note the items you wear most frequently and why you wear those items so much. Also note your favorite items in your closet and why you liek them. Perhaps you keep a
StyleDiary or post to other street fashion communities like
Wardrobe Remix or
Stylemob. If so, check out your outfits there. Find your favorites and take a look at what you wear. Figure out your style so you can make sure your new item fits into it.
Find examples and inspiration. Street style sites, fashion blogs, fashion magazines, phtography books, and diy sites and books are all great places for inspiration. I really like
Wardrobe Remix,
street style blogs, and
fashion blogs from around the world for inspiration. I also love looking at costumes and antigue clothing.
Etsy,
craftster.org, and
Threadbanger are places where crafty people gather and share (or sell) and thus are rich beds of inspiration. Stores, the runways, and art can all inspire you and help you know what you want to do.
Check out my list of
DIY Links for some more inspiration and help with your DIY needs. Also check out my sidebar, which I need to update, for more inspiration and help.
In these posts I'll also include some of the stuff I made but haven't done a formal write up of yet.
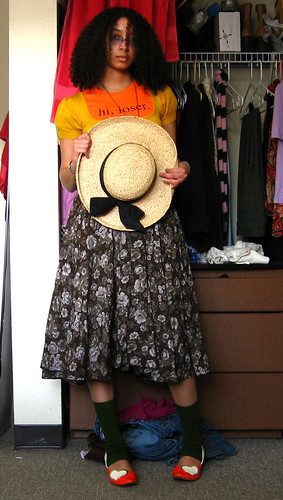
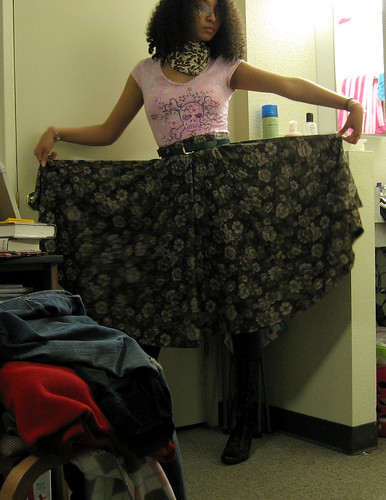
This skirt,
also in the outfit at the top of this page,
became
this dress:

with some scissors, thread, red ribbon, and two white buttons. Look out for a formal tutorial (with photos!) or maybe video when I make another one. That might have to wait until January though. It's really quick and easy though. Just take a maxi circle or a-line skirt, cut off the waistband. Cut the waistband at the point oppossite to where the closure is (or anywhere you'd like). To make the waistband bigger to fit your chest, simply add ribbon or a strip of fabric to the waistband. If the waistband is already big enough, you can cut out a portaion and replace it with ribbon or fabric. Sew the waistband back on the skirt. Use some more ribbon (I sewed two strips of ribbon together, side by side) to create straps. If you want, you can create button holes on your straps, but I simply attached the straps to the dress and sewed the big white buttons on for show. And voila! You have a sweet pinafore tent dress, which is perfect for the summer and with layering for the winter.
images: click on the images in this post to be taken to it's flickr page, where more sizes, outfit deets, and further info is available.
doin it herself,
Ivy Frozen


